We all have outdated and extra furniture pieces in our homes. Some articles can be valuable, and some can be useful for household decor. These furniture pieces often become useless due to the outdated finishes or faded colors. Updating such furniture can add to their value, and these pieces can become quite helpful for renovating your home.
Such outdated wooden parts can be updated by coloring them. Spray painting is an easy DIY (Do It Yourself) method to color wooden, plastic, and metallic household items. Furniture spraying can help achieve a smooth and decent finish for outdated wooden parts. Spray painting can be pretty efficient for wooden goods with a complex or irregular shape because such features are sometimes challenging to deal with a brush. Painting with the help of a paintbrush may leave drips and marks on the surfaces upon drying. On the other hand, furniture spraying can always provide a near-perfect finish to different furniture parts. You can get these services from experts who provide such solutions.
What can you paint?
Whenever you make up your mind about sprinkling wooden goods, you should closely observe the parts before working because some articles may be antique, and coloring them may reduce their value. High moisture resistant and sun-blocking pigments are used for colorizing outdoor household items.
Disassemble the parts first
Depending on the type of wooden article you are going to colorize, you may have to disassemble its fittings for a better and complete finish. It is recommended to unscrew and remove any handles or knobs attached to the wooden pieces you will colorize. You have to paint all the parts separately and then assemble them afterwards. In this way, there will be no unworked spots left on the object.
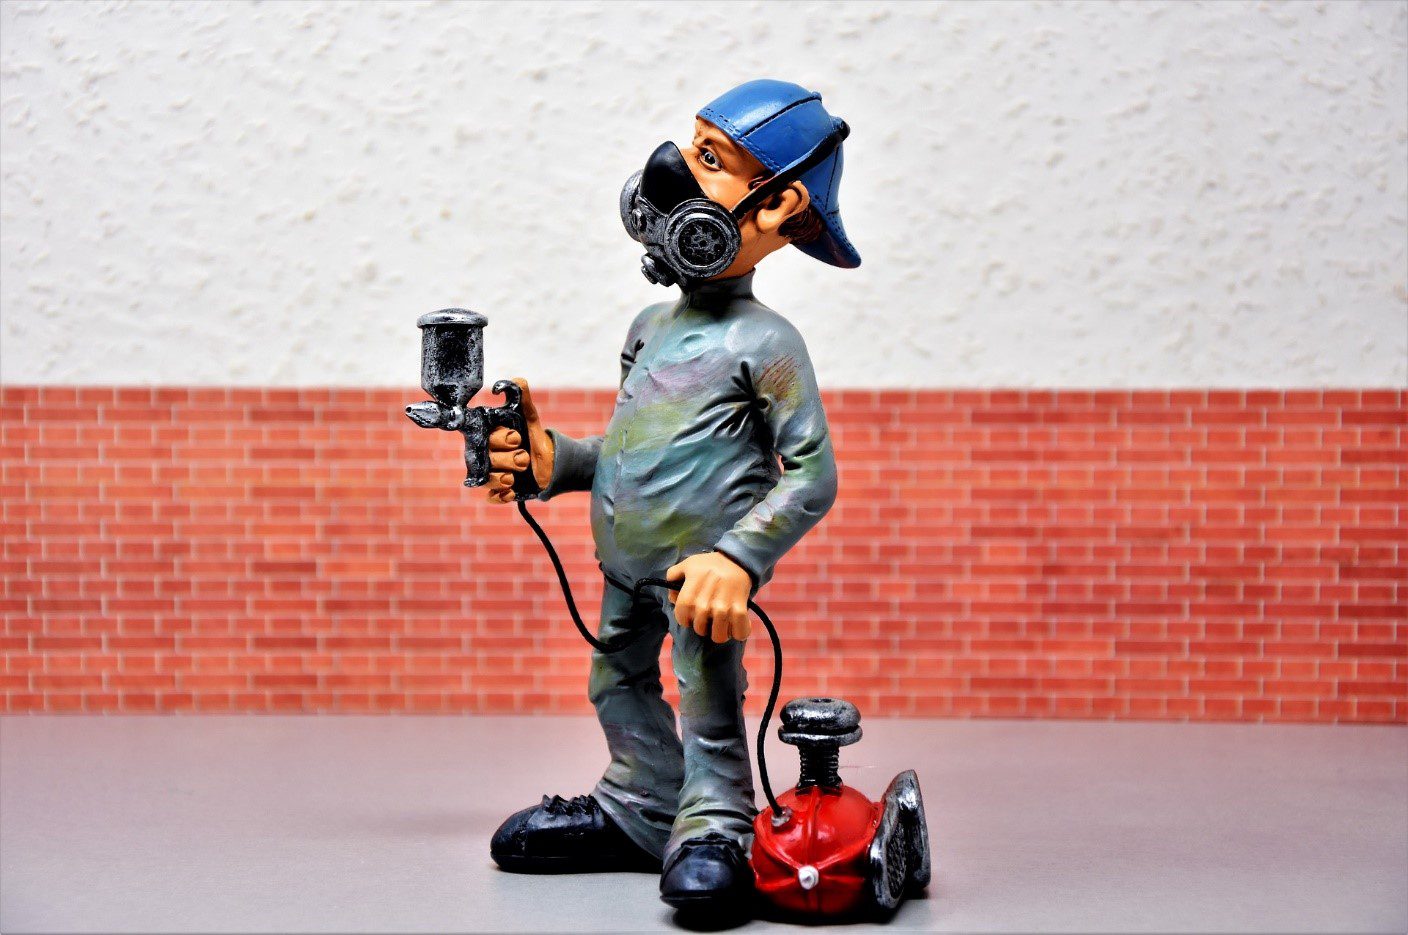
Cover surrounding things and areas
When shower painting, its minute particles can quickly settle on surrounding areas and things. So, it is better to cover these things and places with newspapers, masking tapes, or drop clothes for their protection.
Sand the surface before spraying
Before colorizing a wooden surface, make sure to smooth its texture by thoroughly applying sandpaper. This will remove the rough edges from the surface of the object. First, use coarse sandpaper and then repeat it with fine version sandpaper to achieve an entirely smooth surface.
Clean the surface well before painting
After making the surface perfectly smooth, consider cleaning the sawdust with the help of a vacuum cleaner, compressor, or a soft piece of cloth. Ensure that you don’t bring water or any other liquid near the part to be colorized because it can penetrate the wood. This will damage the wood and make it difficult to catch the pigment properly. Moreover, when the surface is wet, dust and other particles may settle on it from the surroundings.
Use a Professional Sprayer
For a genuinely professional-looking finish, always use a pro shower. HVLP and Airless sprayers are considered as two main pro sprayers.
· HVLP
HVLP (high volume, low pressure) sprayers have a turbine to create air pressure. The pigment moves into the cup gun, which is picked by the blowing air. This blowing air sends color out of the nozzle in the form of a fine spray.
· Airless
This type is also used for professional spray painting purposes. Airless sprayers work without air. Pigment is pressurized and sent through a hose and tip specifically made to atomize coating. Airless sprayers have a comparatively larger capacity up to a five-gallon bucket. You can use these to apply pigment to more expansive areas as compared to the others.
Best paint for wooden furniture
When thinking about the best paint for furniture, enamel comes to mind, a hard-drying pigment for wooden surfaces. It gives a durable and beautiful finish after drying. It is best for colorizing furniture, trim, and cabinets.
Practice on a Scrap Object First
It is good to practice paint sprinkling on an extra wooden piece or a cardboard before trying it on the actual wooden surface. This will give you a rough idea about the nature of the behavior of the shower. Like, how consistently and powerfully the shower behaves, etc. You will get to know about the final look that the paint will provide after drying. It is recommended to try and practice the spray gun for a few minutes before finally going for it.
Apply Primer Before Paint
Wooden surfaces may sometimes require multiple coats of color to catch them properly. So, it is suggested to apply primer before colorizing the exterior. Let the primer dry properly, and then go for the spraying.
· Which Primer Works Best?
Primer choice is quite critical because it plays a significant role in the overall finish of furniture. The wrong choice of primers may lead to a chipped or scratched finish in a short time.
The primer can be applied with a commercially available rattle or with a pro shower. Commercially available canned primer provides an excellent finish, but be sure to choose a labeled “bonding” or “adhesion” so the primer will adhere to the wood.
You may also find an adhesive or similar bonding primer in a liter or gallon container and use an airless or high volume low pressure (HVLP) pro shower to apply it.
Tip:
- Do a scratch test of primer by applying it to a small area and let it dry overnight.
- Try to scratch it with your fingernail the next day. If nothing comes out, you are in control.
- If it can be easily scratched, purchase another primer.
Warning: Many paints and primers have toxic chemicals that affect your body and cause irritations like skin problems, etc. So, it is better to cover our hands, face, etc., with personal protective equipment before performing the action. You may consider ventilating the place by opening doors, windows where necessary. Ensure the use of respirators and face mask for extra protection.
Avoid spraying in windy or dusty conditions
Try to work when it is not windy to avoid stray sprays of paint and dust accumulation on the furniture surface. However, always ensure good ventilation.